01
Clean. Then lightly mist.
Remove oil and loose dust. Lightly mist the application surface with water before spraying. Keep it lightly damp, not soaked.
Guides
Simple application steps, nozzle choices and project planning — all in one place.
THE APPLICATION, STEP BY STEP
A 40-second walkthrough of the nozzle tips, gun setup, spray passes and tool cleanup.
Read the current product label and safety instructions before use. The video complements the written guide.
YOUR FIRST SPRAY JOB
A clear starting sequence for your DealMart kit. Keep the product instructions and matching safety information beside you.
01
Remove oil and loose dust. Lightly mist the application surface with water before spraying. Keep it lightly damp, not soaked.
02
Shake the can vigorously for at least 60 seconds. Connect the can and gun as directed, then choose the straight or 45° angled tip.
03
Start with a small test area. Keep the nozzle 12–18 inches from the surface and move steadily. Choose the angled tip for suitable ceiling work.
04
Let the foam fully cure before cutting or finishing. Maintain ventilation and follow the label and SDS for ventilation and re-entry requirements.
Thin first coat → wait 30–60 seconds → second coat.
2 inches. Build in layers; this is not a single-pass thickness.
Before starting: review the foam and cleaner labels and safety information. Use the ventilation and protective equipment required for your task. The short coat interval is not a full-cure or re-entry time.
READ THE FULL INSTRUCTIONS →GAP FILLING IS A DIFFERENT APPLICATION
A narrow joint is filled along its length; a larger surface is coated with spray passes. Follow the product directions for the type of work you are doing.
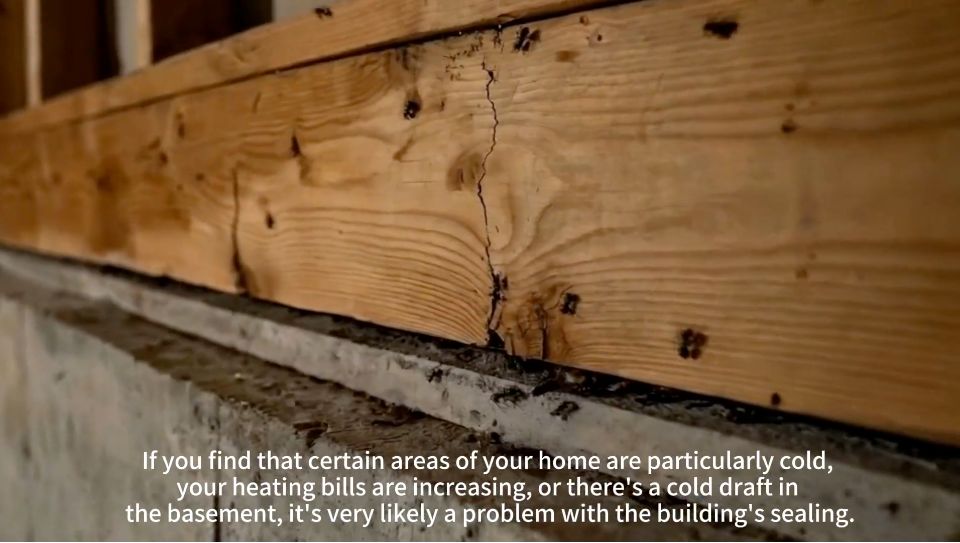
Identify the gap and the adjoining materials before preparing the area.
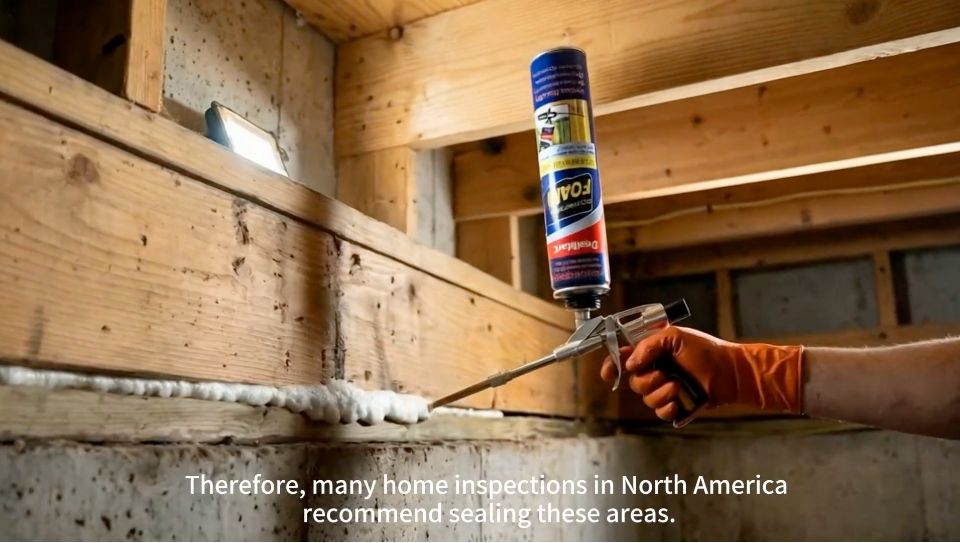
Dispense along the joint. The manufacturer instructs filling only half the intended gap volume to allow for expansion.
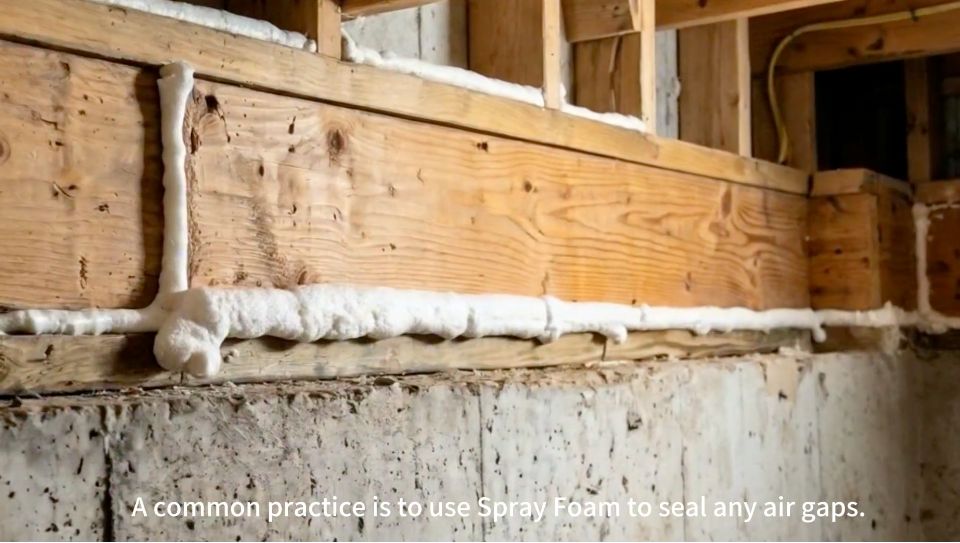
Allow full cure before trimming or finishing. Follow the instructions for protecting the exposed foam.
Illustrative gap-filling sequence. Follow the written product instructions.

01 / UNBOX
Start with 12 foam cans and the accessory set below. Keep the order details and can labels so you can identify the exact product when asking for help.
EXPLORE THIS STEP →
02 / PREPARE
See the two red nozzle types: a straight tip for forward-facing spray work and a 45° angled tip for overhead areas. Both attach to the applicator gun.
EXPLORE THIS STEP →
03 / WATCH
Use the creator footage to see the applicator moving and the appearance of the freshly applied material. Watch it alongside the written product instructions.
EXPLORE THIS STEP →
04 / FINISH
The silver can is a separate foam cleaner. Its directions and safety information must match the actual cleaner supplied with your kit.
EXPLORE THIS STEP →Start with the intended function: filling a defined gap and insulating an assembly call for different product information.
Read the guide →PRODUCT FORMATUnderstand what the component count describes, then compare the dispensing system and the exact product’s documented uses.
Read the guide →Compare cases, applicators, cleaner and included accessories. Every DealMart case contains 12 foam cans and six red nozzle pairs (six straight tips and six 45° tips).
Read the guide →MEASUREMENTUse the DealMart planning graphic and calculator: 20 board feet per can, approximately 10 sq ft per can at 2-inch thickness. Actual yield varies.
Read the guide →Turn “a shed,” “a garage” or “a window” into a specific question about the surface, assembly and intended application.
Read the guide →BEFORE YOU STARTFollow the nozzle setup, initial spray check, layer application and cleanup planning sequence, with creator highlights and the updated English instructions.
Read the guide →Using the manufacturer-reported yield of 20 board feet per can, the estimated coverage at 2 inches is 120 sq ft for 12 cans, 240 sq ft for 24 cans, 360 sq ft for 36 cans and 480 sq ft for 48 cans. Actual coverage varies with application conditions and technique.
The manufacturer reports R-4.12 at 1 inch, R-8.24 at 2 inches, R-12.36 at 3 inches and R-16.48 at 4 inches. These are foam values; they do not describe the R-value of a complete wall or roof assembly or establish a fire rating. The listed thicknesses are not single-pass application instructions.
For a rectangular room, wall area = 2 × (length + width) × wall height. A flat ceiling adds length × width. Subtract doors and windows that will not be sprayed. A 10 × 20 ft room with 10 ft walls has 600 sq ft of wall area and a 200 sq ft ceiling: 800 sq ft total before subtracting openings. Use the room-area calculator.
A bigger pack contains more cans. Room size alone does not establish the amount needed: the application, permitted thickness and documented yield matter too. The pack comparison describes quantities, not a coverage guarantee.
Use the data for the exact product you intend to apply. A similar can size, nozzle or product name does not establish equivalent yield or installation requirements.
No. Product instructions describe the intended application and use. A Safety Data Sheet provides hazard, handling and emergency information. Review the documents for both the foam and any cleaner used with the kit. Find instructions and request matching safety information.
The creator videos show unboxing and application, not measured thermal or acoustic results. A project demonstration does not replace product-specific test data or an assessment of the finished assembly.
Have a question these guides do not answer? Send DealMart the product name and your intended application. For kit demonstrations, visit Projects.